
How To Use Graph Editor In After Effects
The graphics tool in After Effects is a powerful tool for fine-tuning and controlling keyframe animation curves. Understanding how to use the graphics solution can greatly improve your work, giving it a more polished and professional look. In this step-by-step tutorial, we’ll cover the basics of using the graphics tool and go through the process of using its capabilities to create smooth and dynamic animations.
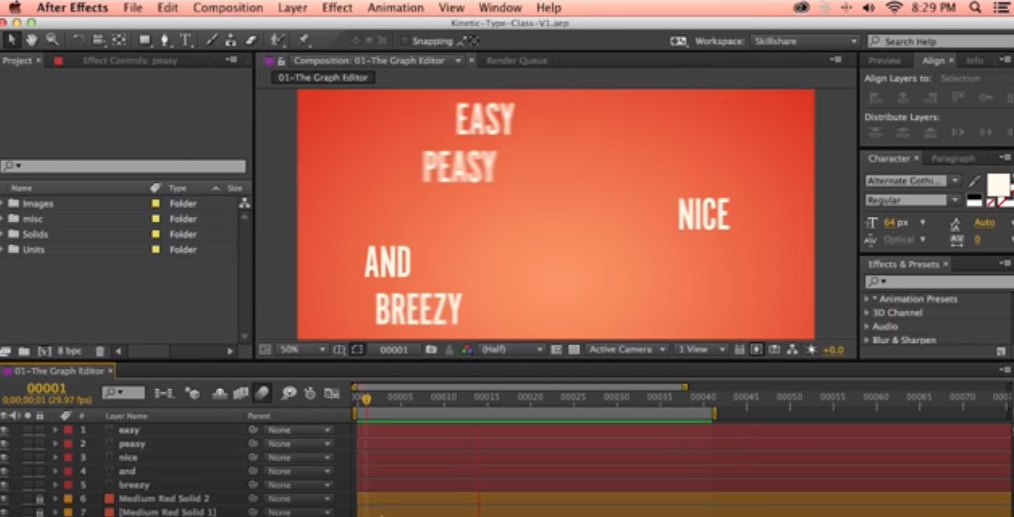
Step 1: Accessing the Graph Editor
To open the graphics solution in After Effects, select the layer or property containing the keyframes you want to change. Select the layer or property containing the keyframes you want from the Window menu.
Step 2: Understanding the Graph Editor Interface
The graph tool consists of a graph area and various tools and options. The graph area displays a visual representation of the animation curves. The horizontal axis represents time, and the vertical axis represents property values. Take a moment to familiarize yourself with the different elements and controls in the Graph Editor interface.
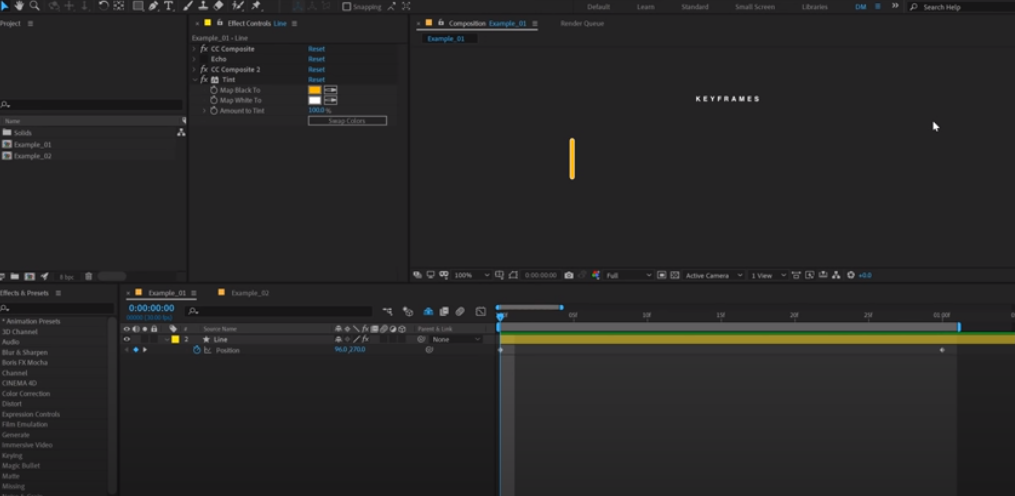
Step 3: Editing Keyframes
To start editing animation curves, select a keyframe or range of keyframes. You can use the Selection tool to select specific keyframes. Once selected, you can start working with the curves by adjusting the knobs or changing the position of the keyframe. Experiment with the different settings to see how they affect the animation.
Step 4: Working with Bezier Handles
Bézier knobs control the shape and smoothness of animation curves. They determine the acceleration and deceleration of the animation. By adjusting the length and angle of the handles, you can create different motion effects. Bézier handles can be adjusted individually or simultaneously by selecting several keyframes.
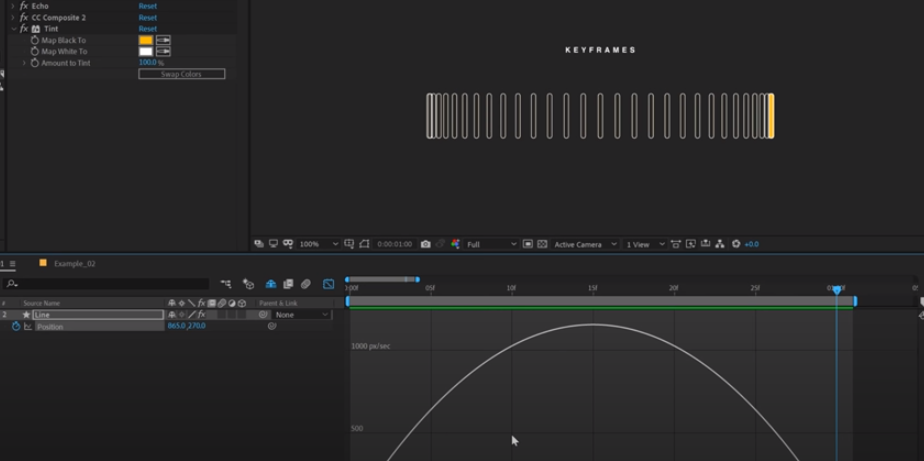
Step 5: Easing and Velocity
Smoothness is applied when approaching and exiting a keyframe. By adjusting the position of the Bezier knobs, you can control the smoothing effect. Speed controls the speed of the animation at specific points. Understanding how to control both smoothing and animation speed is essential to creating natural and realistic movements.
Step 6: Adding and Removing Keyframes
The Graphics Tool also lets you add and remove keyframes. By adding keyframes, you can create more complex animations with multiple control points. To delete keyframes, simply highlight them and press delete.
Step 7: Customizing the Graph Editor Display
The Graph Editor provides several display options to help you better represent animation curves. You can enable or disable the display of certain properties, change the color scheme, or adjust the scale of the plot area. Experiment with these settings to find the configuration that suits your workflow.
Conclusions
Mastering the graphics tool in After Effects opens up a world of possibilities for creating breathtaking animations. Once you understand how to manipulate animation curves, adjust the softening and speed, and customize the display, you can bring your projects to life with smooth and precise movements. With practice and experimentation, you can take your animation to the next level and amaze your audience with professional-quality visual effects.