
Animating a Line in After Effects: Step-by-Step Guide
When one is tasked with drawing a line between two points, underlining text, or even creating a simple lightsaber effect, possessing the knowledge of animating lines in After Effects becomes an essential skill in the world of motion design. This article delves into one of the most frequently used line animations achievable in After Effects: animating a line in a way that gives the illusion of it being drawn on the screen, starting from one point and ending at another.
Alternatively, readers may also find our other blog.
post on how to connect objects with lines in After Effects intriguing. That post showcases a different type of line animation, where the line is animated by manipulating its individual points. However, for the purpose of this article, let’s focus on the following.
How to create an animation of a line drawing on the screen using After Effects:
Step 1: Generating a shape layer with a stroke
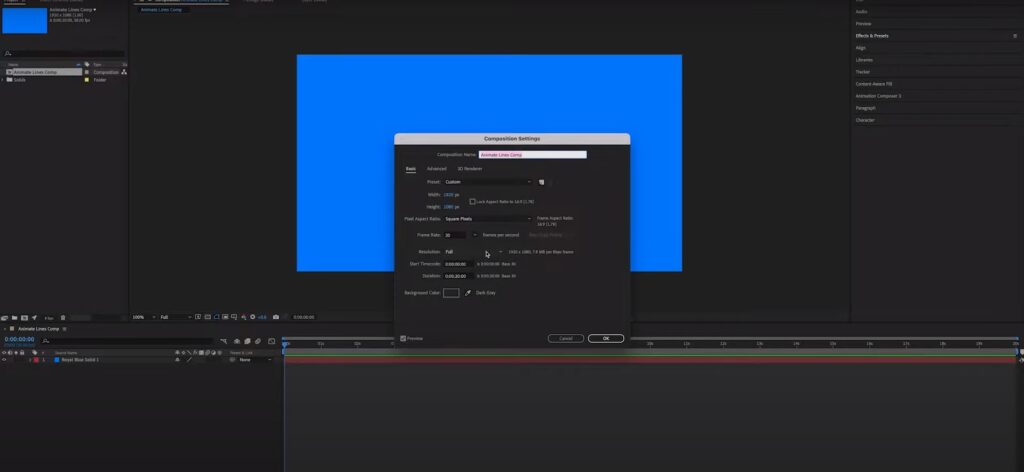
To commence, the user must first draw the line they intend to animate. This can be accomplished by creating a new shape layer through the following steps:
Layer > New > Shape Layer
Upon selecting the newly created shape layer, the fill and stroke options will appear in the top toolbar of After Effects. In this case, the example requires the shape layer to have no fill effect. To achieve this, click on the blue “Fill” link in the top toolbar, then select “none” (the option on the furthest left) and click “OK”.
Next, ensure that the shape layer has a stroke applied to it. To do so, click on the value next to the stroke color option (displayed in pixels) in the top toolbar of After Effects. For this example, let’s use a stroke width of 10 pixels. Additionally, the color of the stroke can be changed by clicking on the color box adjacent to the pixel value in the top toolbar.
Step 2: Creating the line
With the shape layer selected, it’s time to generate the line. This can be achieved by following these steps:
- Select the pen tool from the top toolbar, or alternatively, press the “G” key on the keyboard to switch to the pen tool;
- Click on the composition window to add new points to the line. Holding down the shift button will ensure that the lines drawn are straight, with options for horizontal, vertical, or 45-degree angles from the previous point;
Once the line is created, it’s time to proceed to the animation stage.
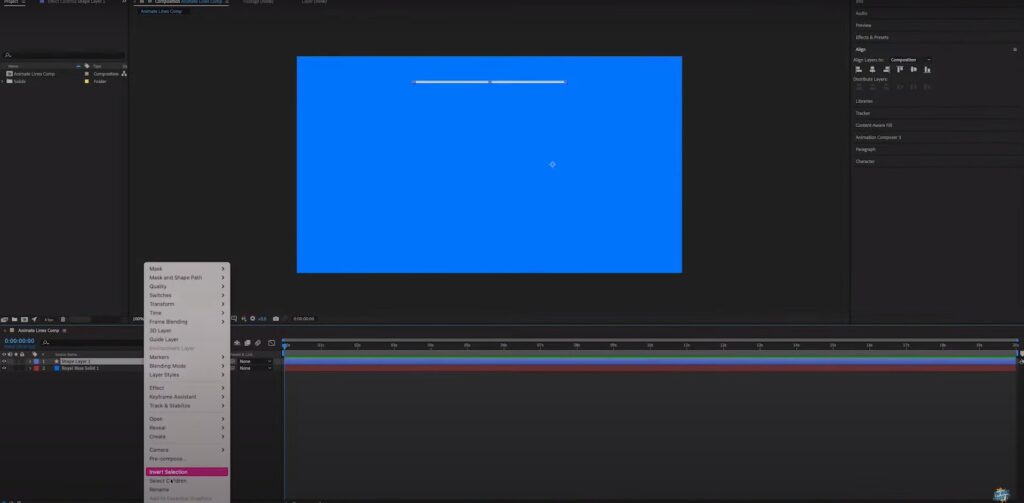
Step 3: Incorporating the “trim paths” option

In the layer panel, expand the shape layer by clicking the small arrow next to the blue square. This will reveal the Contents and Transform options associated with the shape layer.
Adjacent to the Contents line, the “Add” option with an arrow enclosed in a circle should be visible. Click on this arrow and select “Trim Paths” from the pop-up menu.
Step 4: Adding keyframes to animate the line
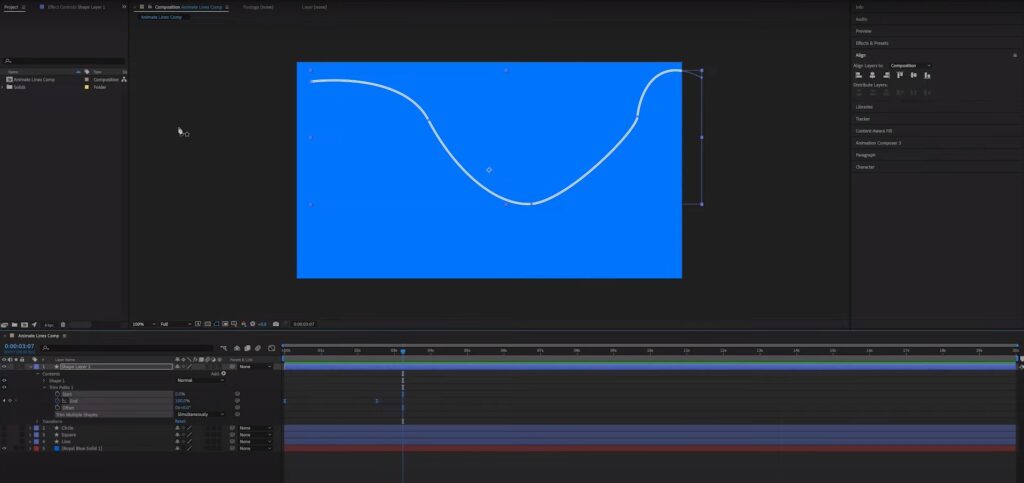
To animate the line, the user needs to access the trim paths settings in the shape layer. This can be done by clicking on the small arrow next to “Trim Paths 1.” Upon doing so, four options will be visible: Start, End, Offset, and Trim Multiple Shapes. The focus here is on the End value, which is initially set to 100%.
- The first step is to position the timeline marker at the desired starting point for the line animation. In this example, the starting time will be set to 0;
- Next, click on the stopwatch icon next to the End value to create a keyframe in the timeline;
- Without moving the timeline marker, change the End value to 0%. You will observe that the stroke on the line disappears;
- Now, move the timeline marker forward by approximately 4 seconds (or any desired duration for the line animation), and change the End value back to 100%. Voila! This alteration from 0% to 100% in the End value generates the line animation. And there you have it!
This is the process of creating a straightforward line animation in After Effects. Feel free to explore animating the other Trim Paths options as well. For instance, try keyframing the Start value from 0% to 100% in the same manner as the End value animation, but shift the start keyframes slightly ahead by a couple of frames. This will result in a shorter line that animates along the path and disappears at the end. Let your creativity soar!

Conclusion
As you delve further into line animation in After Effects, the possibilities expand beyond the basic techniques covered so far. Experimentation is key to unlocking unique and captivating effects.
For instance, you can explore adjusting the Offset and Trim Multiple Shapes options within the trim paths settings. These parameters provide additional control over the line animation, allowing you to create intriguing variations. Moreover, don’t hesitate to combine different keyframing techniques. For example, you can apply easing or create a gradual transition by adding intermediate keyframes between the initial and final states of the line.
Additionally, consider exploring effects and layer styles to enhance your line animation. Applying gradients, textures, or even blending modes can add depth and visual interest. Remember, mastering line animation in After Effects is a journey of continuous learning and discovery. Embrace experimentation, push boundaries, and let your imagination guide you to create captivating and unique line animations that leave a lasting impact on your audience.